DIY Headboard with Adjustable Bed Lamp made out of an old door ! The Lamp is fully adjustable, move up/down or to the sides.
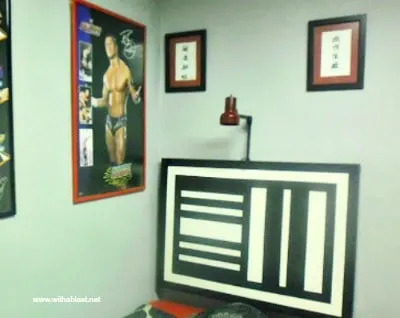
This is a photo heavy post, therefore I will keep the chit-chat short ! This is my son’s new headboard which I made from an old hollow-core white door.
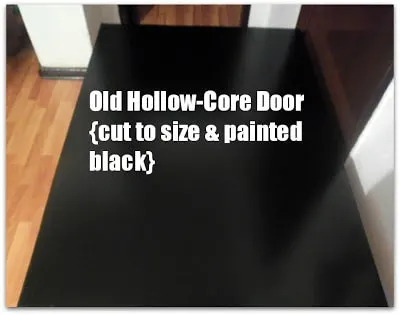
The bed is a three-quarter size (between a single and a double), and we took the same measurements as the bed’s width, to cut down the door to size.
As it was a hollow-core door, my hubby inserted a wood-filler and worked it down smoothly, sealing the edge nicely.
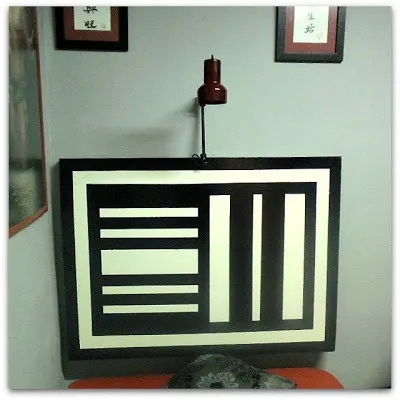
A view from the front. The room is quite small and the lighting is not that great – these pics were really the best I could get.
Now, I will show you step-by-step what we did after cutting it to size:
Hubby used his compressor to spray-paint the door a gloss black.
This was around 10pm at night when I decided to paint a pattern before going to bed, as I wanted it dry and done the following morning. At this stage I still had no idea as to how or what I wanted it to look like !
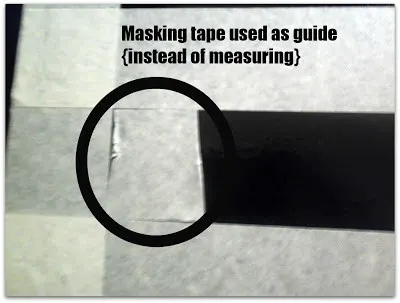
I used the masking tape through-out as a guide and hardly ever used the actual measuring tape for any measurements.
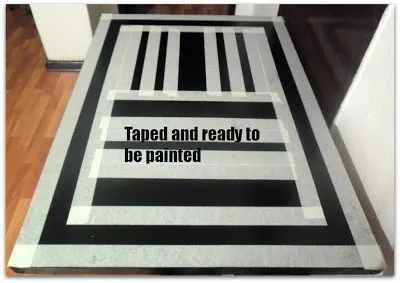
I started with taping a border all round the headboard (the walls are light grey, so this had to start out with the darker color). Then I stood back, checking and thinking “what next?”
Another border inside the first – now, here I was stuck, I could not carry on doing borders right to the center, right? That would look too simple – stood staring another few minutes and then I taped the inside rectangle in half.
Some more standing back and thinking …uhmm .. and almost by magic I just taped, taped and my design was done. FINALLY.
Note; I had no dropcloth underneath – never, never do that!!..not when you do painting where you shouldn’t in the first place and secondly not on a nice floor – just saying.
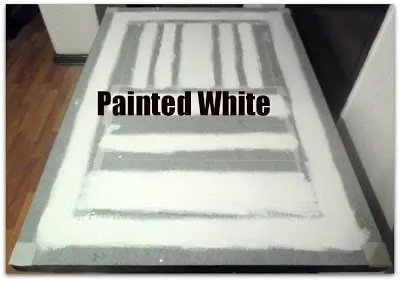
After a few coats of white enamel paint, this is what it looked like. Hubby was following me all around with a small rag, cleaning up all the drips and splatters – see, he knew I was going to make a mess !
Think it was around 2am by now, and I could hardly keep my eyes open – so off to a warm bath and bed.
Okay, wait,,,, I had my bath, was in bed already and just about to fall asleep when an idea hit me ! (I love it when ideas “hit” me – hubby hates it!).
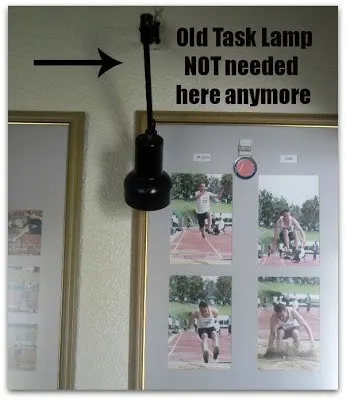
See above — we had a task lamp on the wall in our dining room, which served a purpose many years ago, but was now, just in the way and not being used.
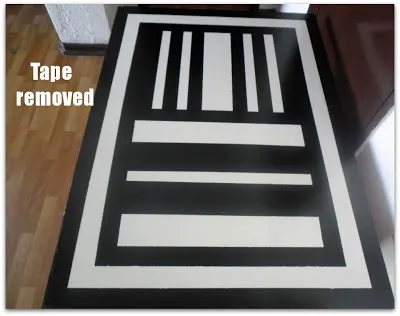
I could not wait to strip off the masking tape ! And I was actually happy with the result !! Not bad, might still end up a Picasso of some kind….
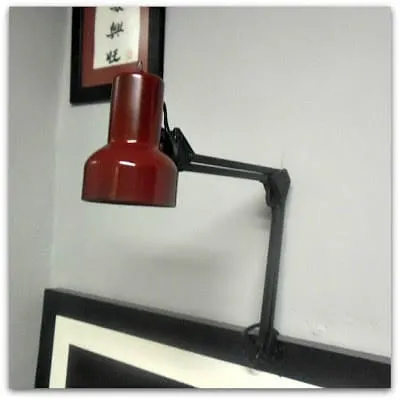
Hubby sprayed the lamp shade red and then fastened it to the headboard the same way as one would do when fastening a lamp to the wall.
Definitely not going to fall on someones head as does those clip on types ! Above you can see it is out of the way, but reachable.
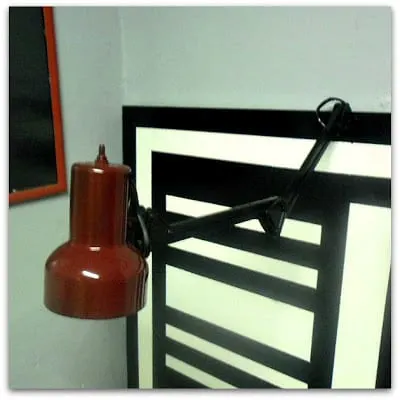
Before I go further, the wall color differs on the photos – no idea why and I am not a photographer of any kind, but the wall color closest to the real thing is as seen in the photo before the one above.
Reason for this photo: The lamp is kind of cool, it can go up and down and swivel from side to side, you just need to reach up and adjust it the way you want/need it to be.
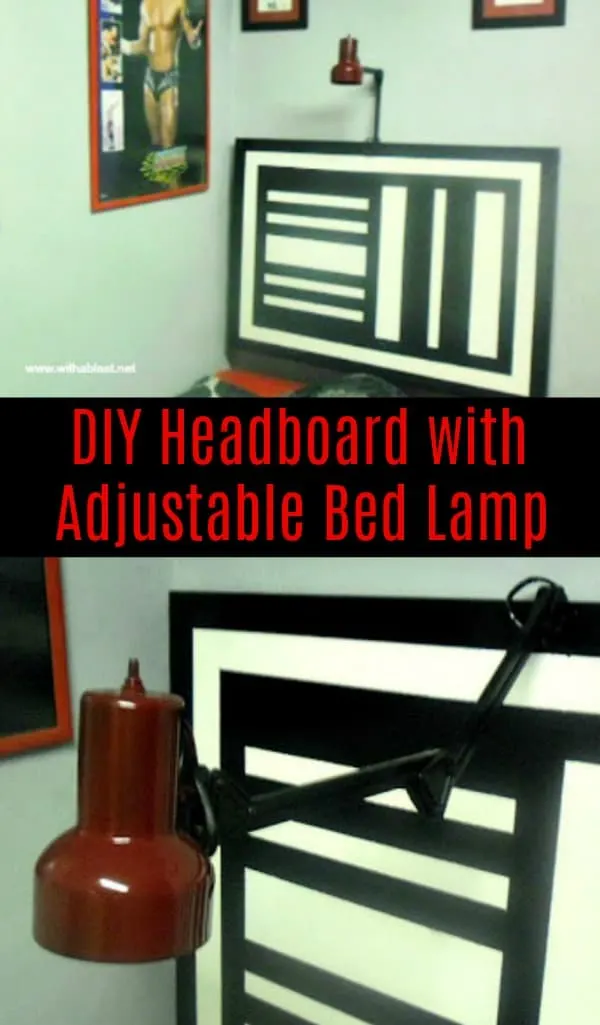
DIY Headboard with Adjustable Bed Lamp

Right, now I have shared the L-Shaped Desk, which we built and you can read about HERE and this post shows you the Headboard – see the room is getting on, slowly but surely.
In case you are wondering, looking at the above photo, the Desk area is to the immediate right. We have added some self-built wall cubes as well, but will show that in the full room reveal.
Such a small room, but still so much to do ! And lastly we will finish the small bathroom.

Alice Emma Thompson
Tuesday 11th of June 2013
What a great job - looks fab, Alice @ Mums Make Lists
Susie @bowdabra
Friday 26th of April 2013
Thanks for stopping by last week's Saturday Showcase! What an awesome project! Stop by next week to link up some more cool projects!
Have a great week!Susie@bowdabra http://bowdabrablog.com
Natalie Buehler
Wednesday 24th of April 2013
Looking Good Linda!Thanks so much for sharing this on Tutorial Thursdays Linky Party- I can't wait to see what you will be sharing this week.xNataliewww.marigoldsloft.blogspot.com
Anne @ Domesblissity
Wednesday 24th of April 2013
Another great project from the South African Queen! Thanks so much for always linking up to Thriving on Thursdays Linda! It always great to see what you've been up to. You inspire me so much.
Anne xx
Lauren
Tuesday 23rd of April 2013
I am featuring your DIY headboard today on my blog. Thanks for linking it up. The next party starts later today. I hope you will link up again.
http://www.ifitsnotbaroquedesignblog.blogspot.com/