Beauty and Beast Pillows is such an easy DIY – transform any pillow case into a unique piece with only a couple of craft supplies.
We needed some new pillow cases because this little guy
Joe, destroyed hubby’s one pillow case ! Now that’s what happen when you go shopping and forget to close all the inside doors.
Our dogs can come and go through a small doggy hole we made for them in the security gate.
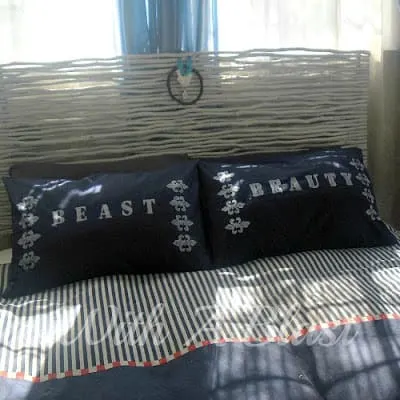
Anyways, I decided to paint my own pillow cases to match the bedroom – the paint is supposed to look shabby, but I am not sure I got that right 100%
After one or two washes it should look just right.
Hubby, of course, is not much impressed with him being labeled as a Beast 🙂 and my son cracked a joke immediately about hubby and I switching sides. Meaning the beast bit suits me better !
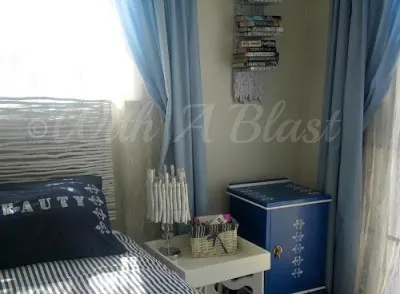
I added the Fleur de Lis because the same pattern is on a small blue cabinet I painted a while ago and which is also in our room (see pic lower down).
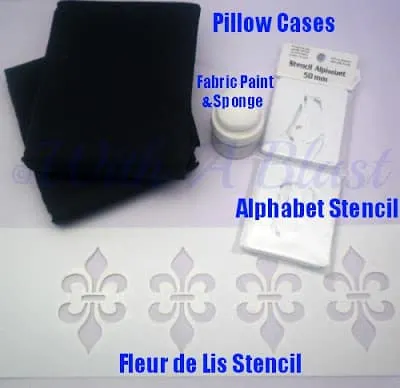
This is everything I used:
- 2 x New Plain Pillow Cases
- Fabric Paint – I used Pearly White and a small sponge
- Alphabet Stencils
- Fleur de Lis Stencil
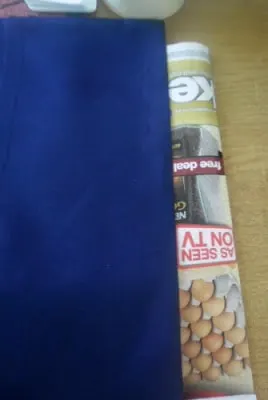
I started off by inserting a folded piece of paper (same size as the pillow case)into the pillow case – this is to prevent the paint from seeping through to the other side.
Then I took some measurements and decided how and where the letters should go. Because I only dabbed the paint onto the fabric, I used just a few small strips of masking tape to keep the letters in place.
This was after I dabbed the paint on twice (using the small sponge) – I wanted a washed-out look.
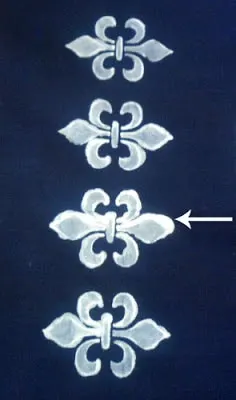
The Fleur de Lis was a bit tougher for some reason – the arrow shows where the paint was a little thick.
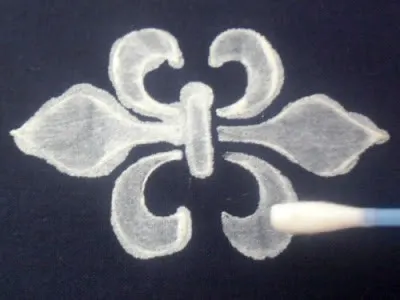
But I corrected most of that by gently swiping an earbud over the paint. When I was done with all the painting it didn’t take too long to dry. Mainly due to me only dabbing and not really painted.
I kept the paper inside and placed another piece of blank paper over the painted areas. Thereafter I ironed the pillow cases to seal the paint. Done,,, it can now be used and washed as one would normally do.
The little blue cabinet in the corner with the same Fleur de Lis pattern. Have a look at the post for the cabinet HERE.
It also proved difficult to photograph. As you can see we have a window above the bed and a full wall size glass sliding door to the left.
When the sun shone straight through the sliding door it was too bright, closing all the curtains. And that was too dark ! No use at night as we don’t have a strong light in this room at all.
The best photos were taken in the afternoon (which are the ones in this post) when the sun was sort of right above the house.

But, I won’t complain about the sunlight in our room. I like bright rooms including our bedroom at night with the moon shining through.
You will never see me buy or make lined curtains for our bedroom. Just about all the other rooms, but not the bedroom !
Also, keep in mind, we sleep with our television set switched on with the CCTV channel showing, so it is really very light in the room.






Jennifer West
Saturday 3rd of August 2013
Thanks for linking these up, you are featured on the DIY Sunday Showcase Favorites post! Jen @ PinkWhen
Jennifer West
Saturday 3rd of August 2013
They look great! Featured these today on the DIY Sunday Showcase Favorites! Jen @ PinkWhen
Betty Taylor
Tuesday 30th of July 2013
The pillows are so much fun and really add to the decor. Thanks for sharing.
Teresa Gray
Tuesday 30th of July 2013
I love this! We got married at Disney World last year and our theme was Beauty and the Beast so these pillows would be awesome in our bedroom. Thanks for the great tutorial. I found you on Give Me the Goods Monday.
Teresa @ Crafty Wife
Lauren Frank
Tuesday 30th of July 2013
These came out great! I love them. I just might make them for me and the hubbs. Thank you for sharing at our Pinteresting Party!