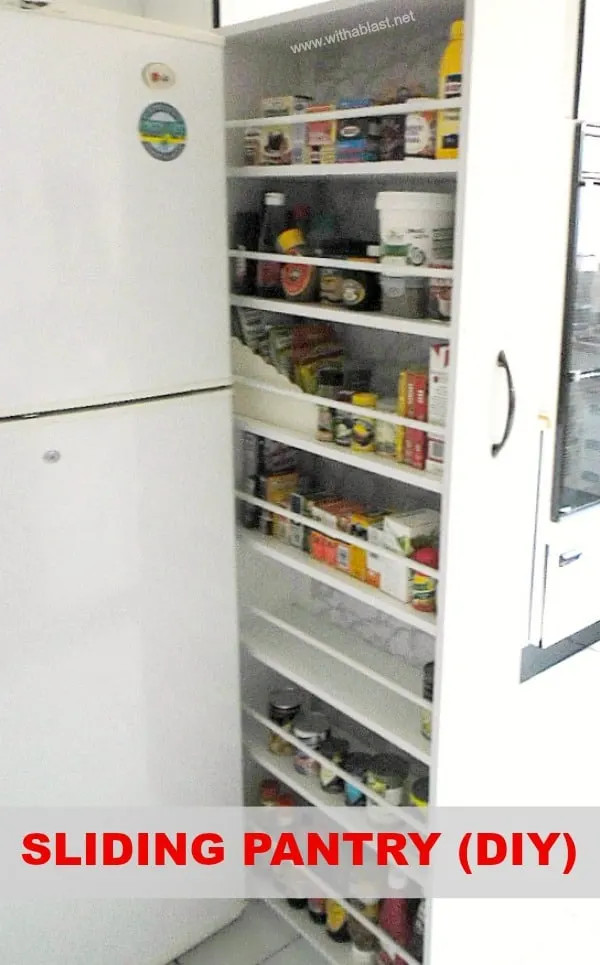
Sliding Pantry (DIY) is an easy do-it-yourself project to add space for your groceries, like a mini pantry, or even use the system in your bathroom !
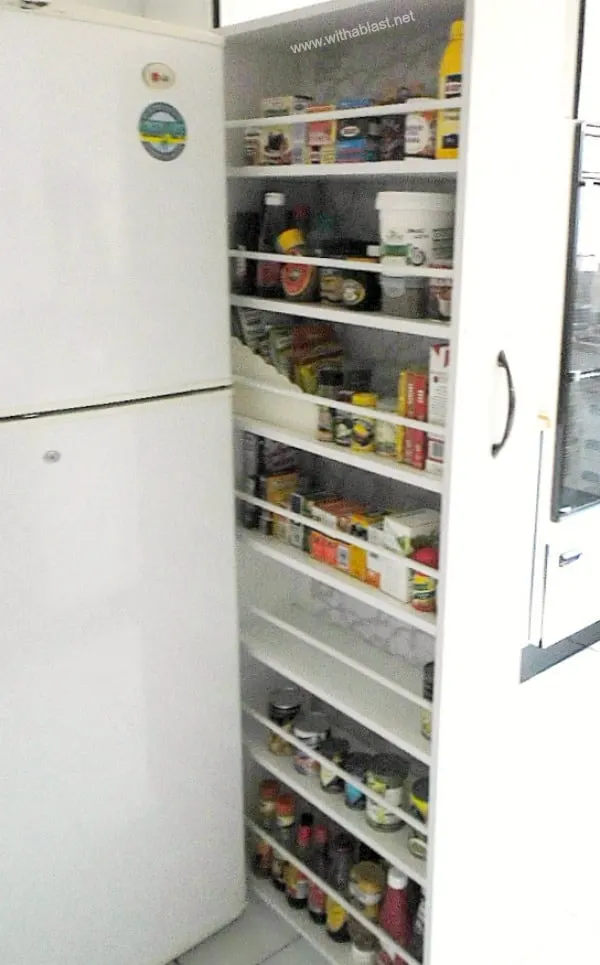
Every week, when linking to Classy Clutter’s , link party, I drooled over the pantry Mallory made. On a good-feeling-DIY-ish day, we decided to build one of our own – a proper Sliding Pantry !
We made our Sliding Pantry much the same as they have done. Mainly our sizes are different as we had a bit of a larger opening.
Our opening was around 200 millimeters and the Slider’s final width is 190 millimeters giving a couple of millimeters play.
The castors we bought were the swivel type. Those did not work too well, and hubby welded them to only run straight, not to swivel.
Here are some close-ups:
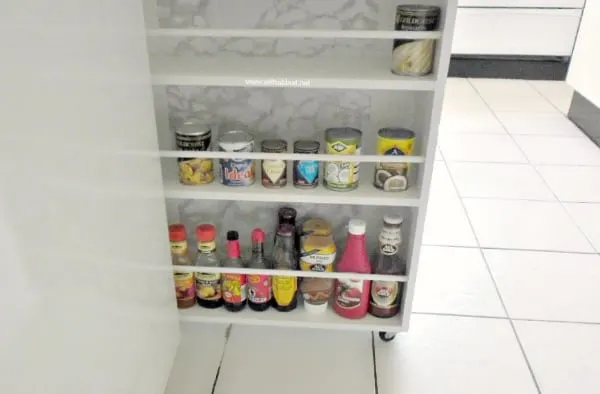
Hubby’s first reaction was “.. we need more canned food..” for the 2 shelves allocated to keeping our canned food.
UPDATE: Canned goods are really not suitable to store next to the refrigerator due to the heat from the refrigerator. After a couple of days we realized the cans are getting hot, which can not be a good thing ! We now store dry goods only here. Trial and error as they say !
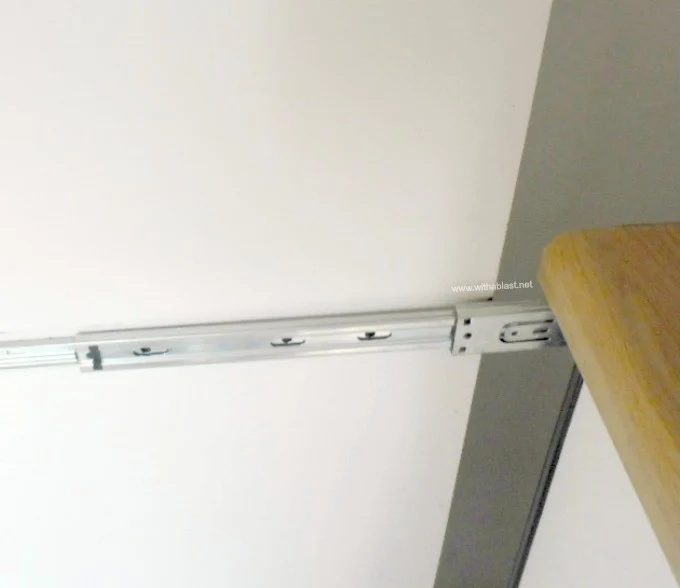
We improved a bit on the original design in the sense that we added a sliding mechanism bolted to the side of the counter. This makes sliding much easier – before we added this, the Slider was a bit “wonky” .
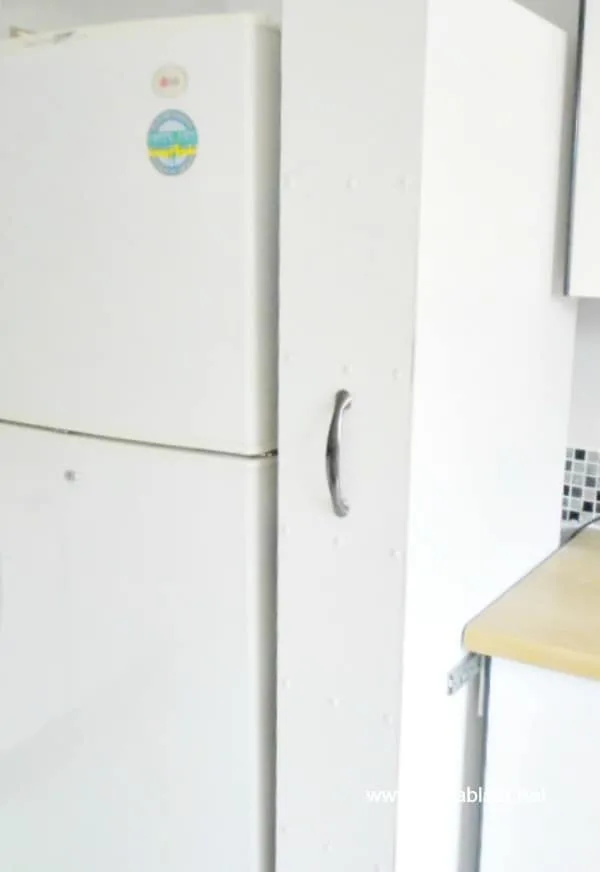
Nicely tucked between the refrigerator and the counter !
As we are still busy with the renovations to our kitchen I only took photos of the Sliding Pantry. I think you can guess which was the most important part of the renovations, as this is really the only piece that is completely finished!
The rest of the kitchen is still a mess !
Sliding Pantry (DIY)
What do you need to make a Sliding Pantry ?
- Double sided White Melamine – cut to our custom sizes – (framework and shelves)
- White Masonite for the backing – I glued some wall paper to the inside after we painted it white
- Pin nails – for the Masonite backing to the Melamine frame
- Handle
- 4 x Castors (see above about the swivel type)
- Side strips which we ironed on to the open sides of the Melamine (available from most hardware stores)
- Screws and white screw caps – as the Slider is quite wide, we used three screws/caps per side per shelf/top and bottom
- Sliding Mechanism as in the photo above
- 7 x 12 millimeter Dowel sticks – painted white
The bottom shelf is a little higher than the others as this one will be used for taller bottles – the dowel stick was also placed a little higher than on the other shelves.
Now .. I can not wait to finish the kitchen and share that with you, but meanwhile have a peek at our Sliding Spice Rack with step-by-step instructions !

no1tvfan63
Wednesday 18th of February 2015
https://www.pinterest.com/pin/426012445976841546/thanks for the great idea to use drawer glides to stabelize this! I had hubby make me a 4" x 26" x84"H the total spade depth i had was 30" so i used a 28" drawer glide with full extention PLUS. it overextends. so the glide is hidden and at resting the cabinet face is flush with other cabinets but the glide is part opened. (yes it stays stationary in place! my problem was we had an exterior light switch to deal with so i needed to access it once in a while, so i have 3" i can push this cabinet IN farther than flush...so i can turn on the outdoor light. complicated to explain but it worked fantastic. you cant see the glide at all!
Mama G
Friday 12th of April 2013
Amazing idea! The sort of thing that would really help me out with space issues - if I had the space for it lol. I'm wondering if I can fit one anywhere...
Kayla Janachovsky
Wednesday 27th of March 2013
I love this!! Great work & congrats on 100 posts.
mail4rosey
Wednesday 27th of March 2013
When we trade our 36" stove for a regular size, we will have a space between our stove and cabinet. This will be perfect for filling it (if I can get my son to build it ;) ).
Thanks for the great share!
Mandy A
Monday 11th of March 2013
That's awesome! i think i can use this in my sewing room. wow, u did such a great job!